
主要介绍从FNL CDN迁移到Fastly的过程,及踩过的坑
首先是得有 Fastly 账号,然后到 https://manage.fastly.com/configure 配置CDN服务
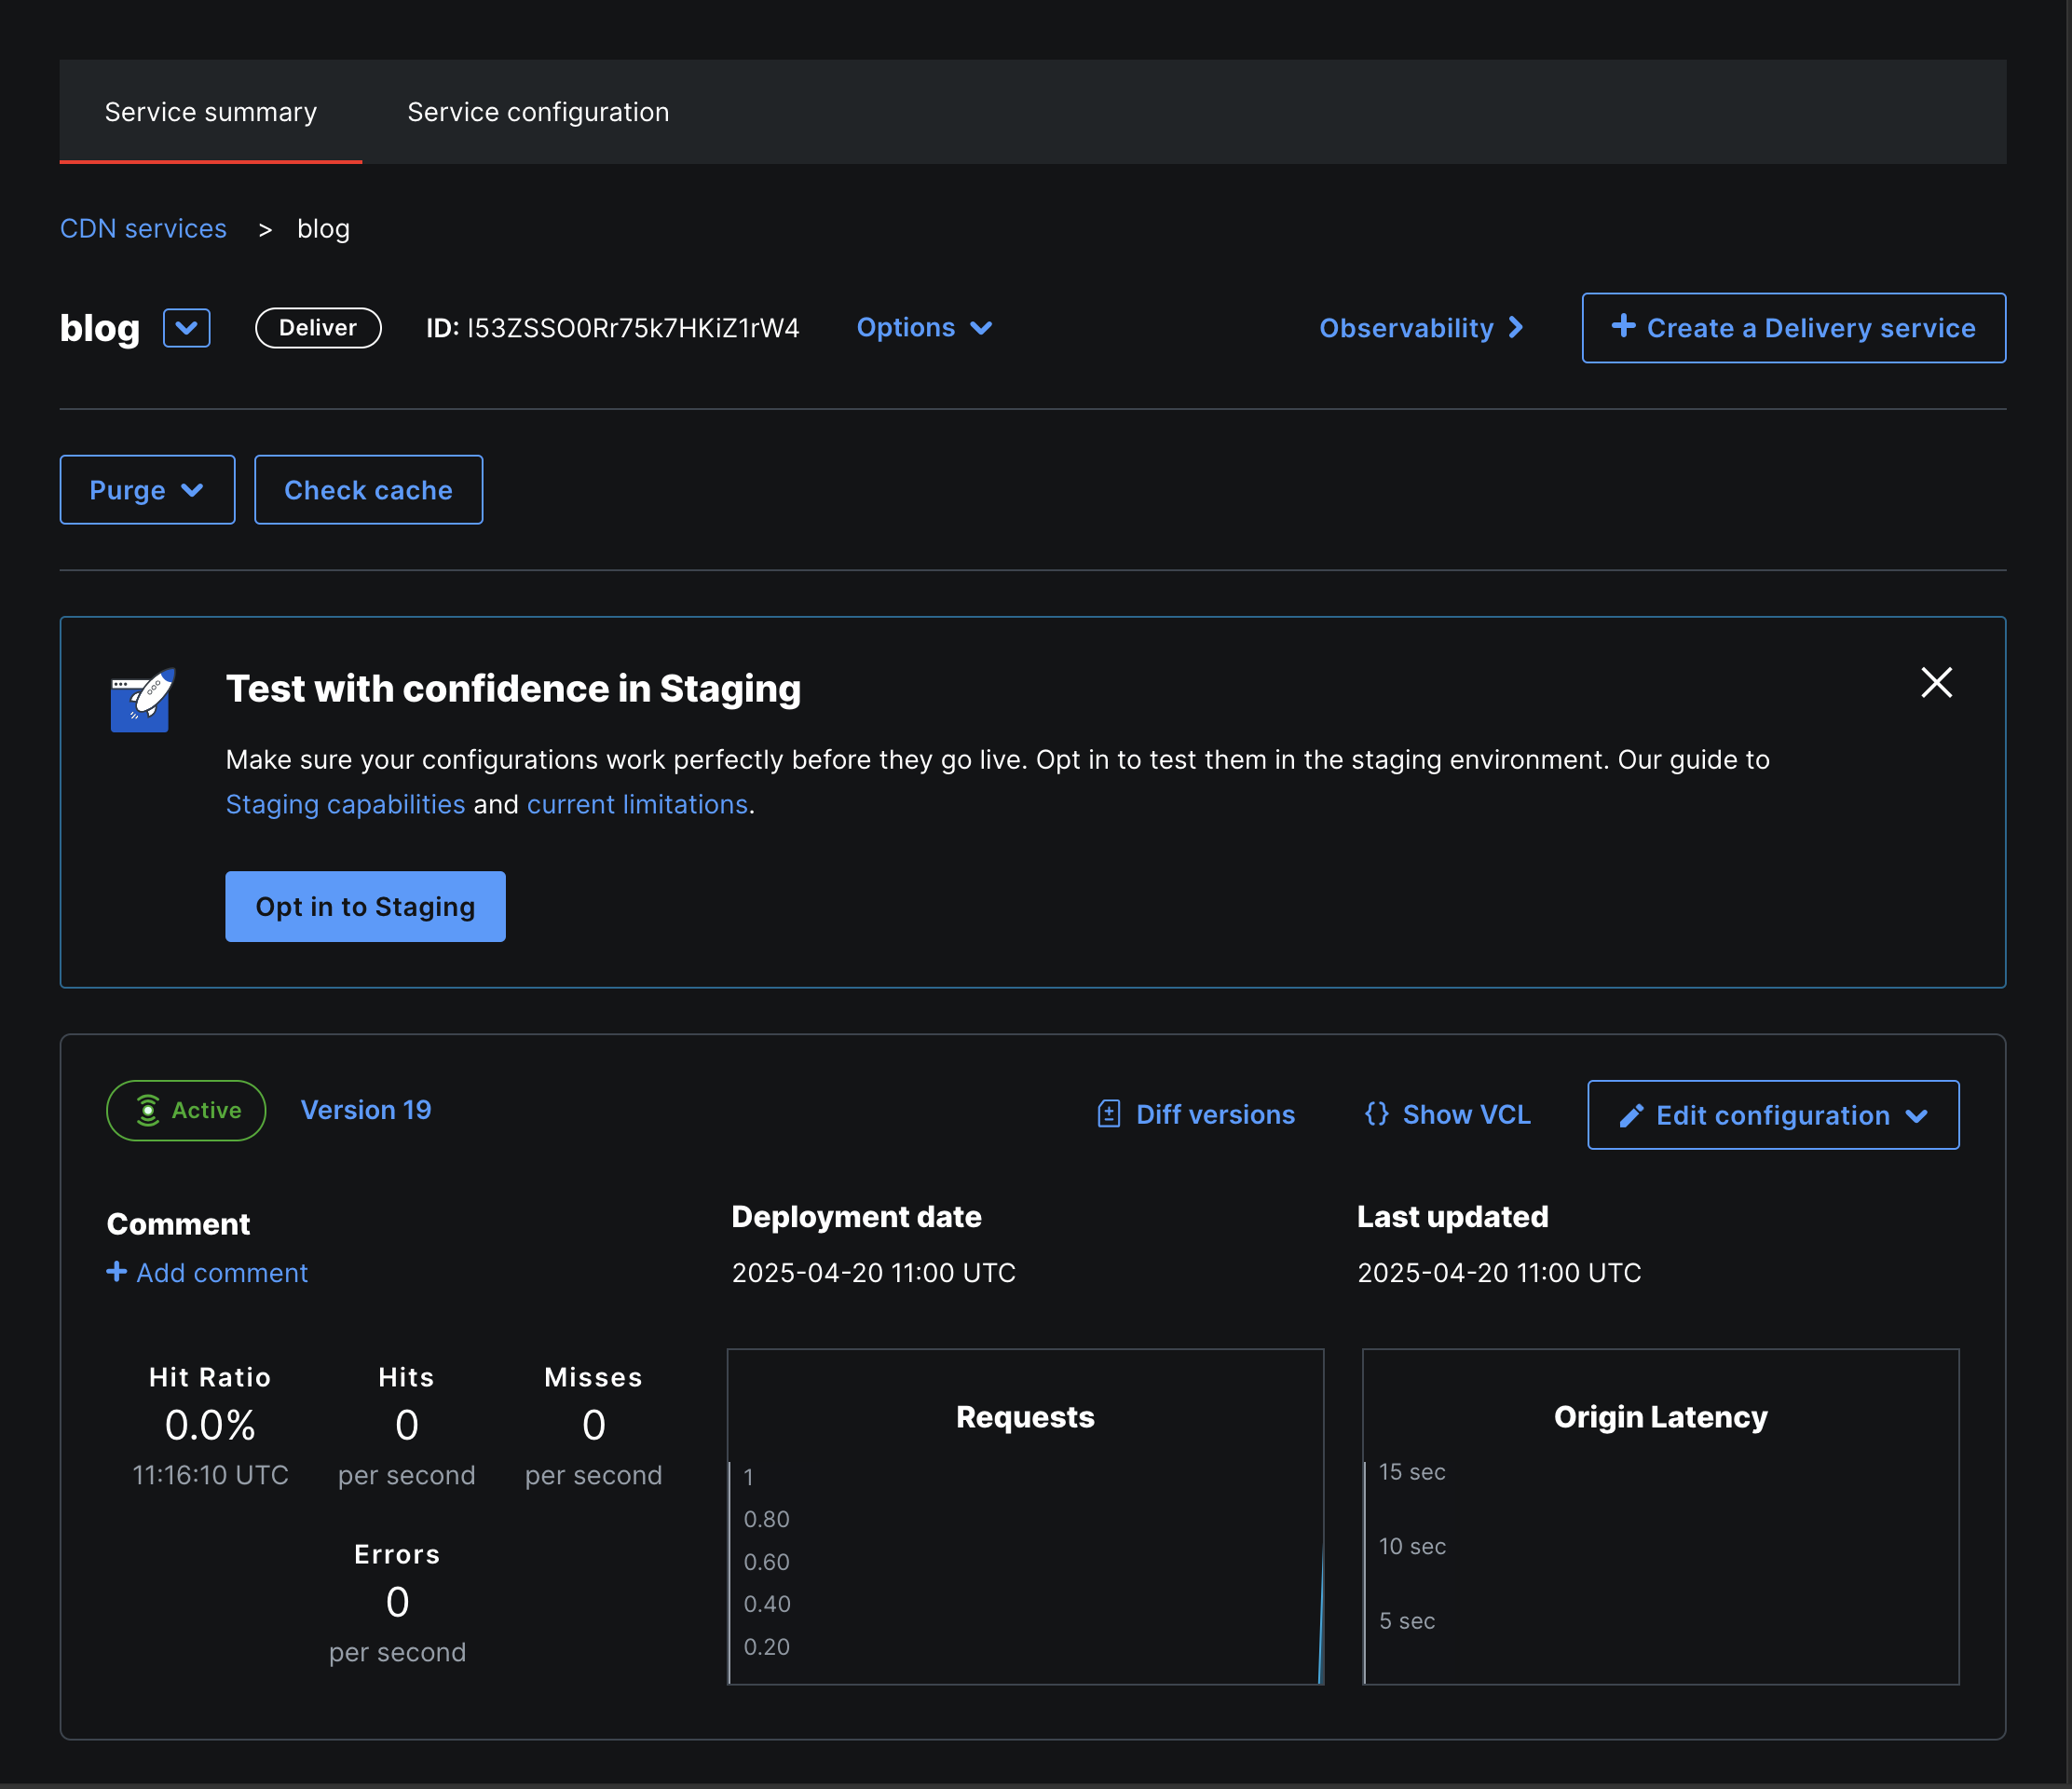
配置好后大概是这样
点击 Service configuration -> Edit configuration -> Clone to edit
- 配置源站
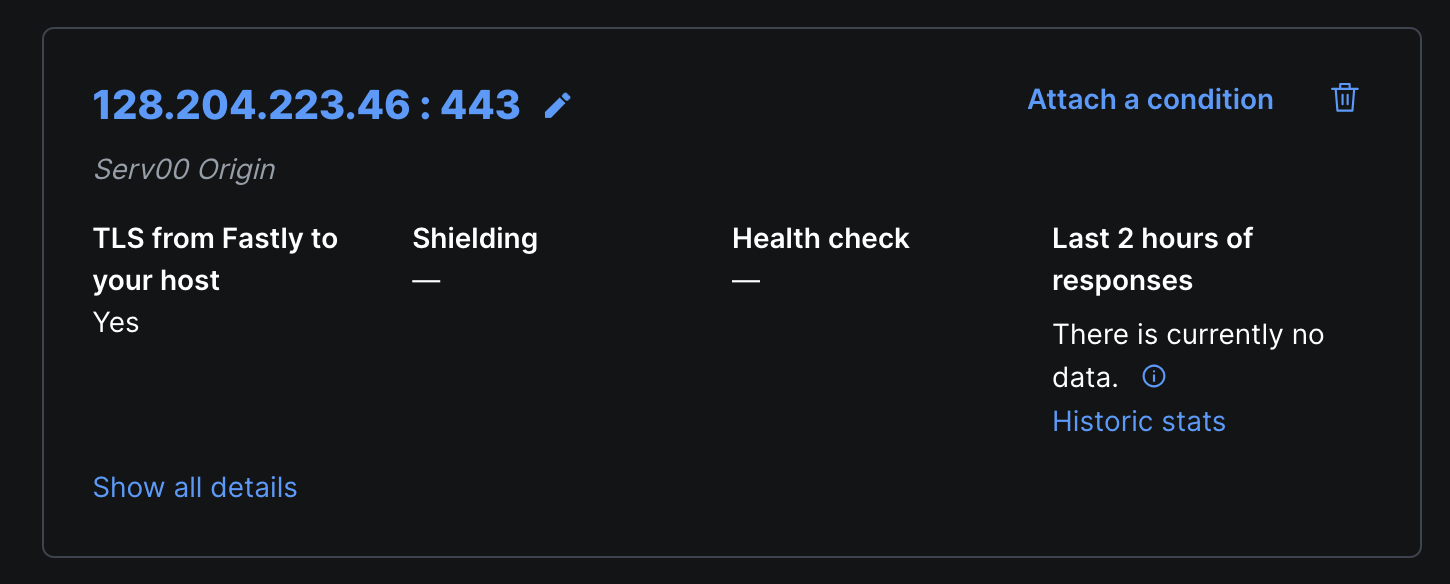
点击 Origins 并找到源站(这里是Serv00)并点击笔图标
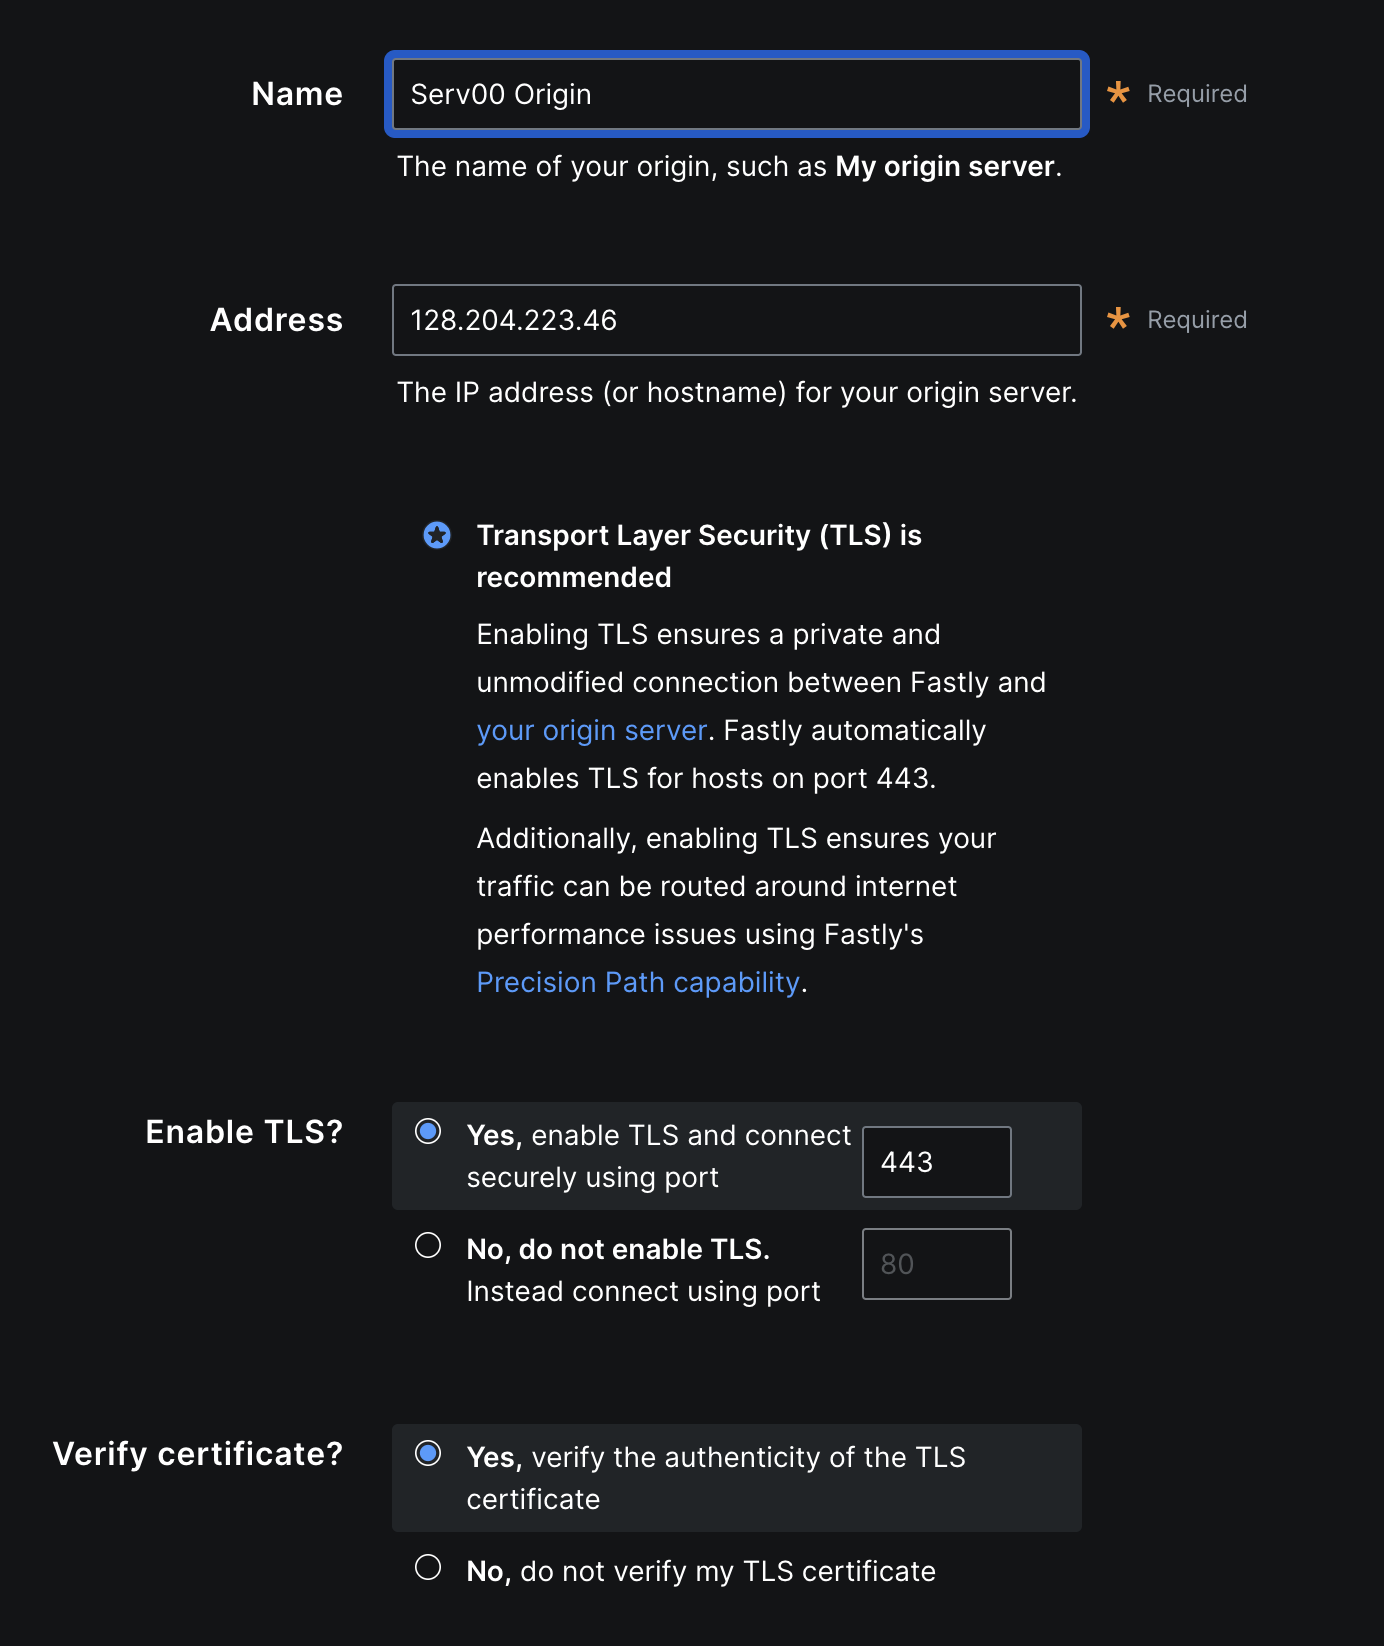
- Name 随便写
- Address 写源站IP
- Enable TLS 若源站有则开启(Serv00 Panel域名有,这里开启)
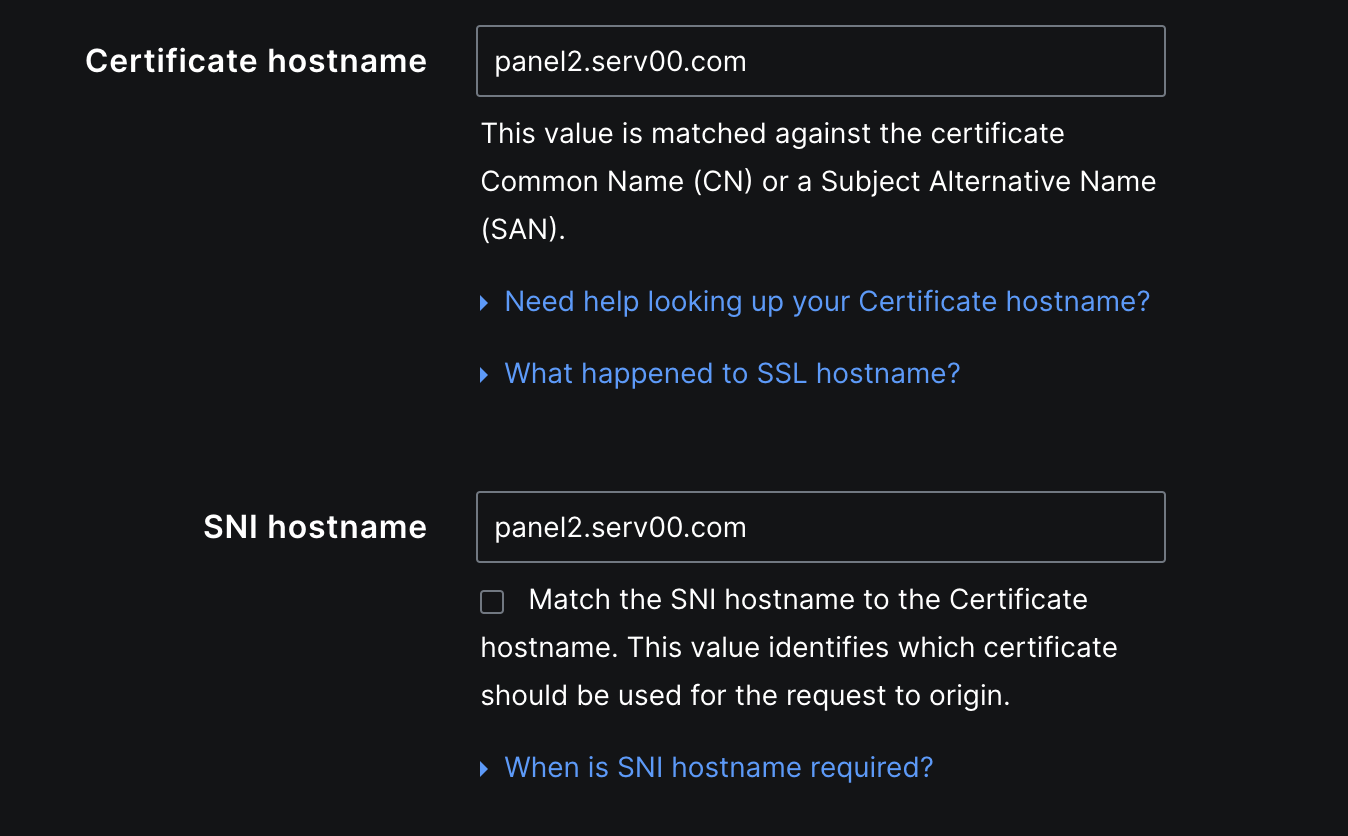
- Certificate hostname 要和源站 TLS 证书匹配
- SNI hostname 若源站有证书则点开 Match the SNI hostname to the Certificate hostname
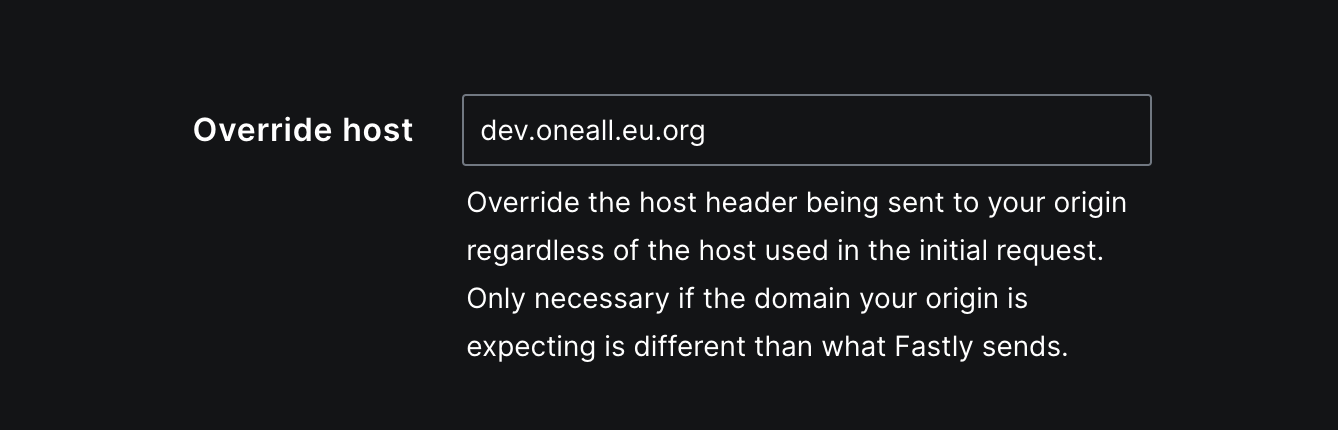
- Override host 填博客域名,这里是 dev.oneall.eu.org
- 其他保持默认
- 配置加速选项
点击 Settings 并按需求开启(以下是我的配置)
- Serve stale content on origin failure
- Force TLS and enable HSTS
- HTTP/3
- 其余关闭
- 配置缓存
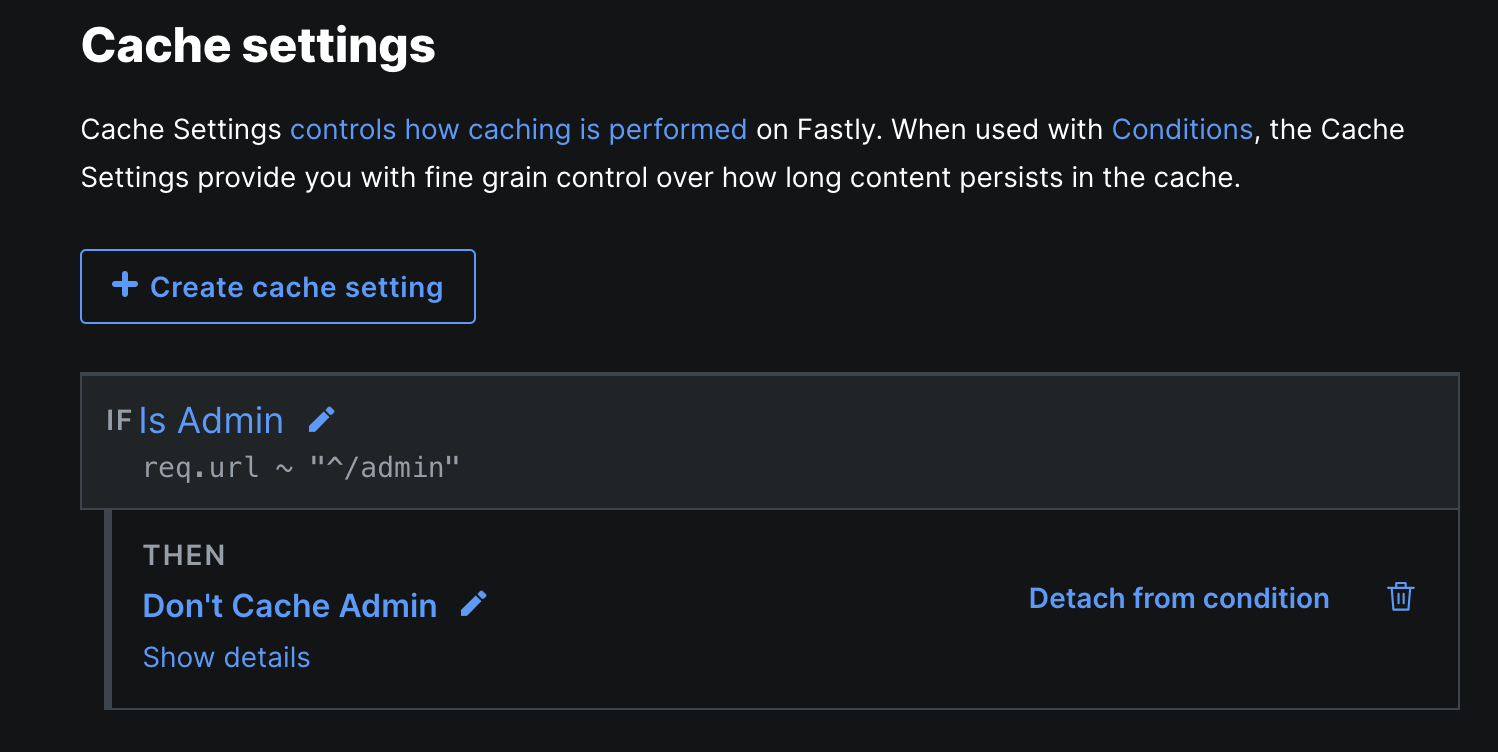
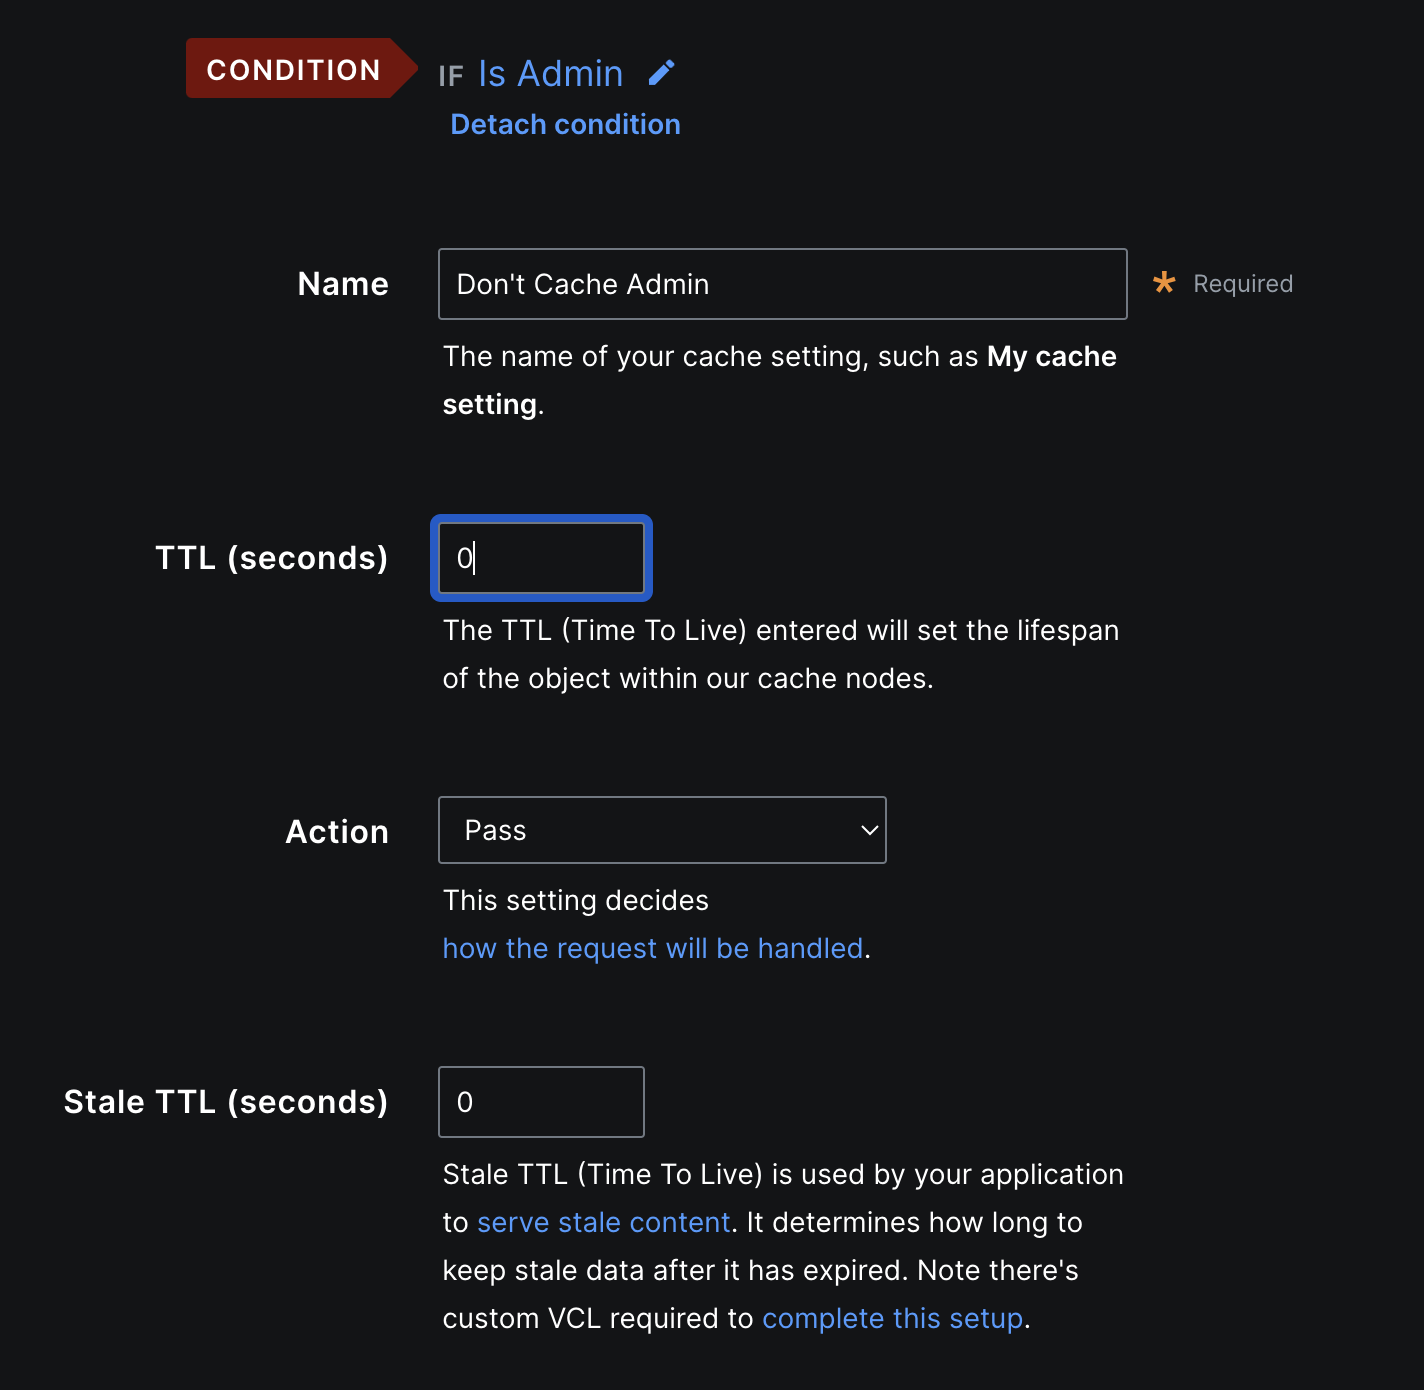
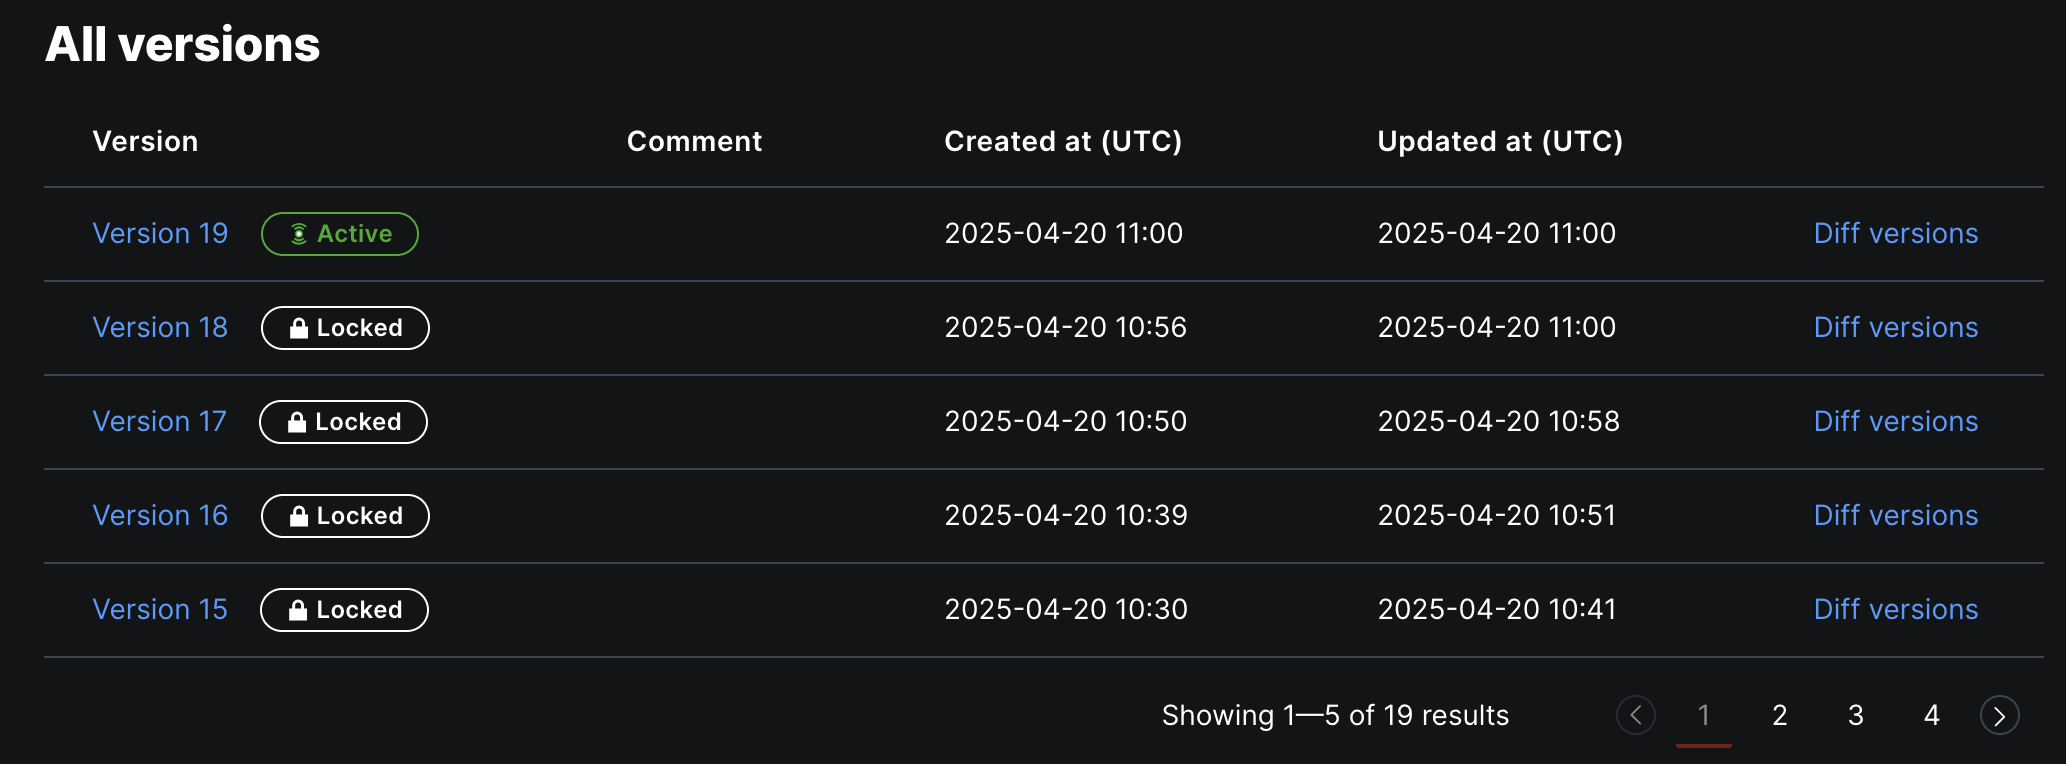
Fastly默认缓存全站,当你发现后台 /admin 进不去或有时能进去,请按照以下配置(我这19个version有10个都是栽在这了)
- Create cache setting
- Condition -> attach a condition
- Name: Is Admin
- Apply if: req.url ~ "^/admin"
- Save and apply to this cache setting
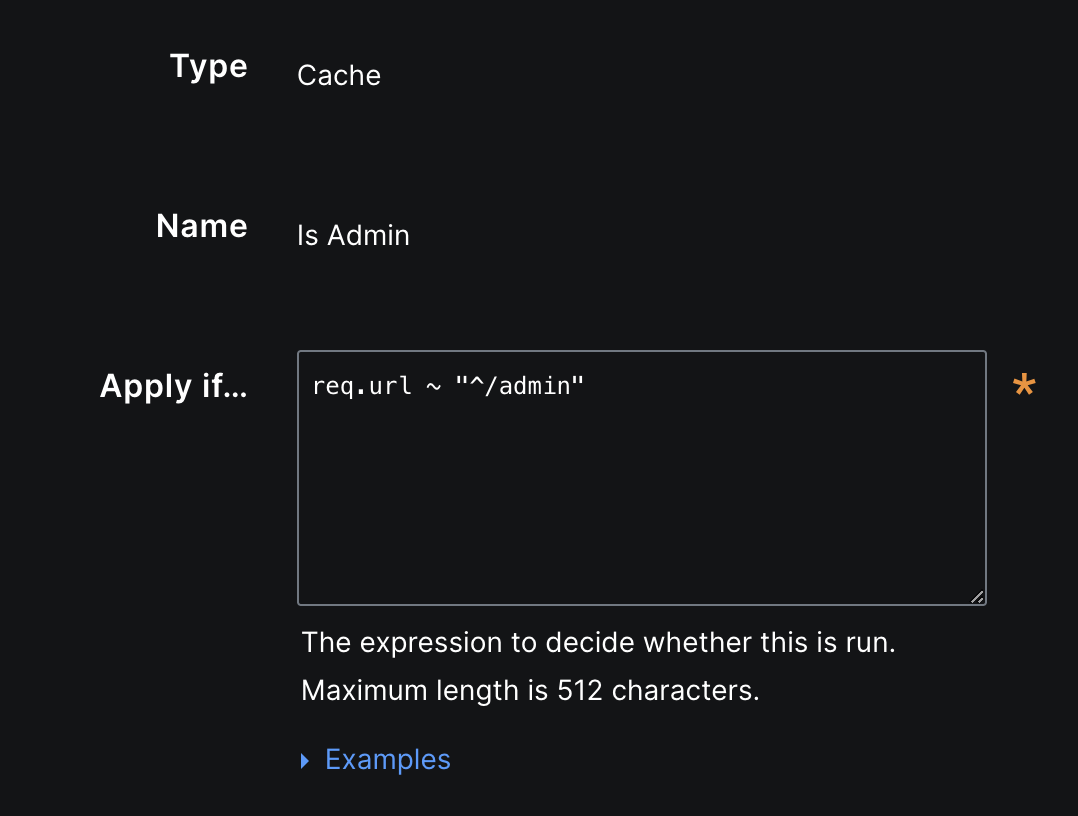
- Name: 随便写
- Action: Pass
- 其他留空
- 压缩
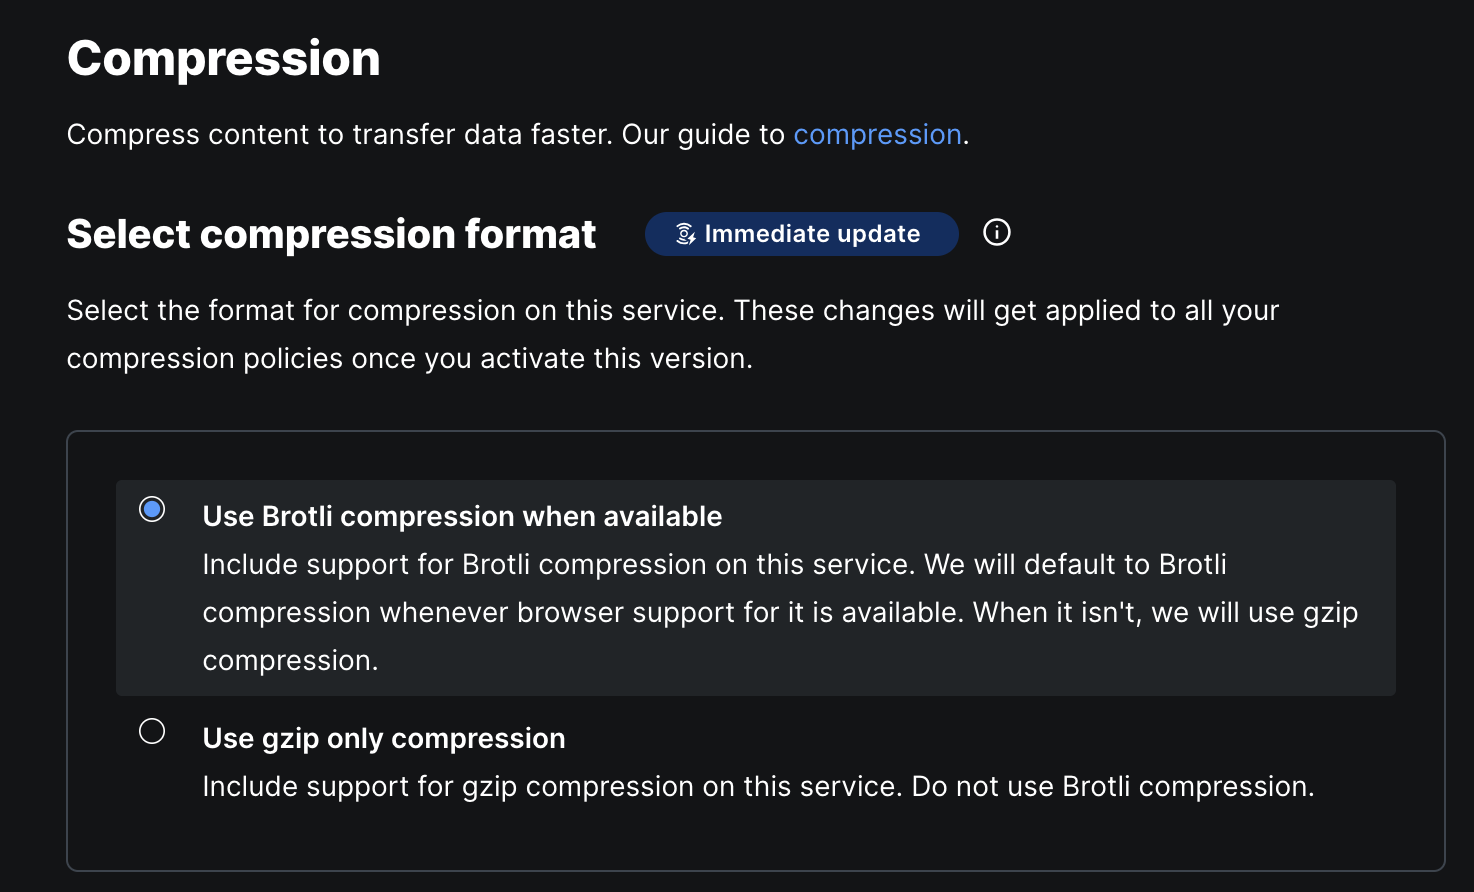
点击 Content -> Compression
- 按需开启
若要配置 SSL 前往 https://manage.fastly.com/network/domains
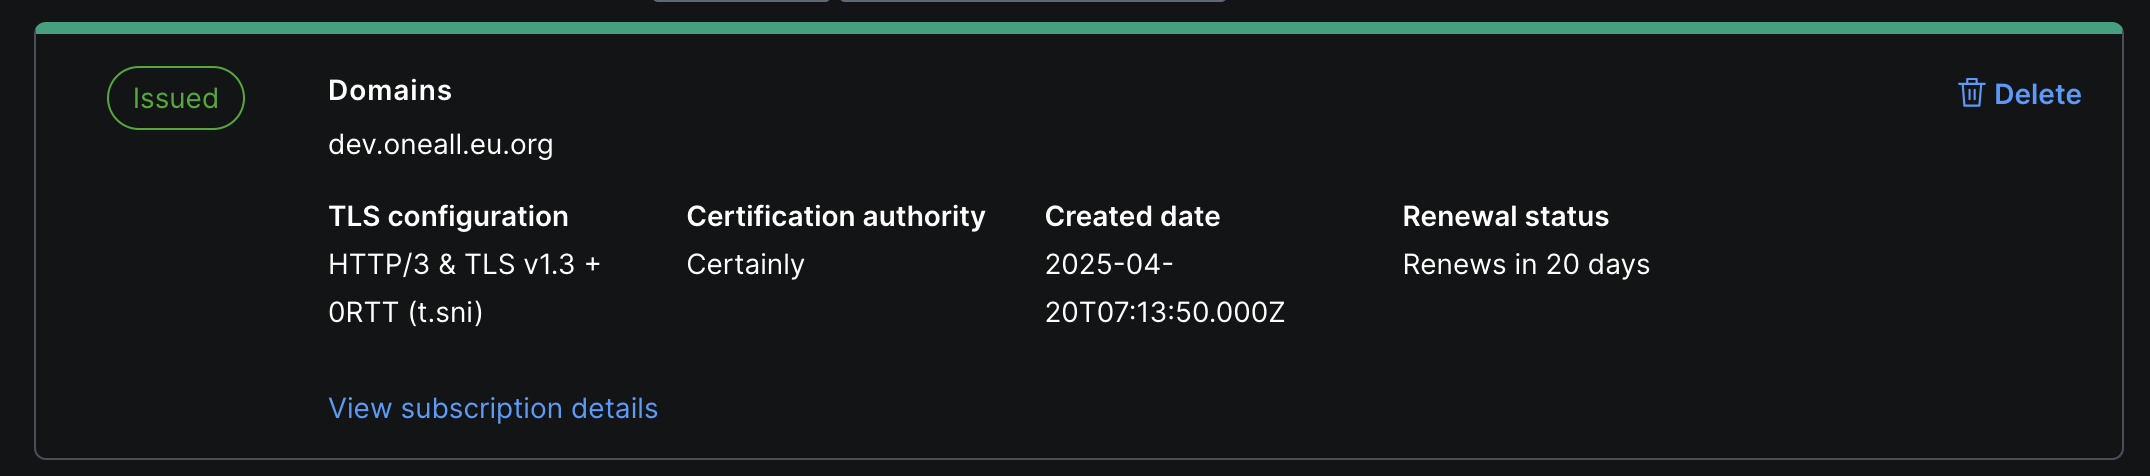
将域名接入Fastly
- 前往 SSL 证书的 View subscription details
- 找到 TLS configuration and DNS details -> View / Edit
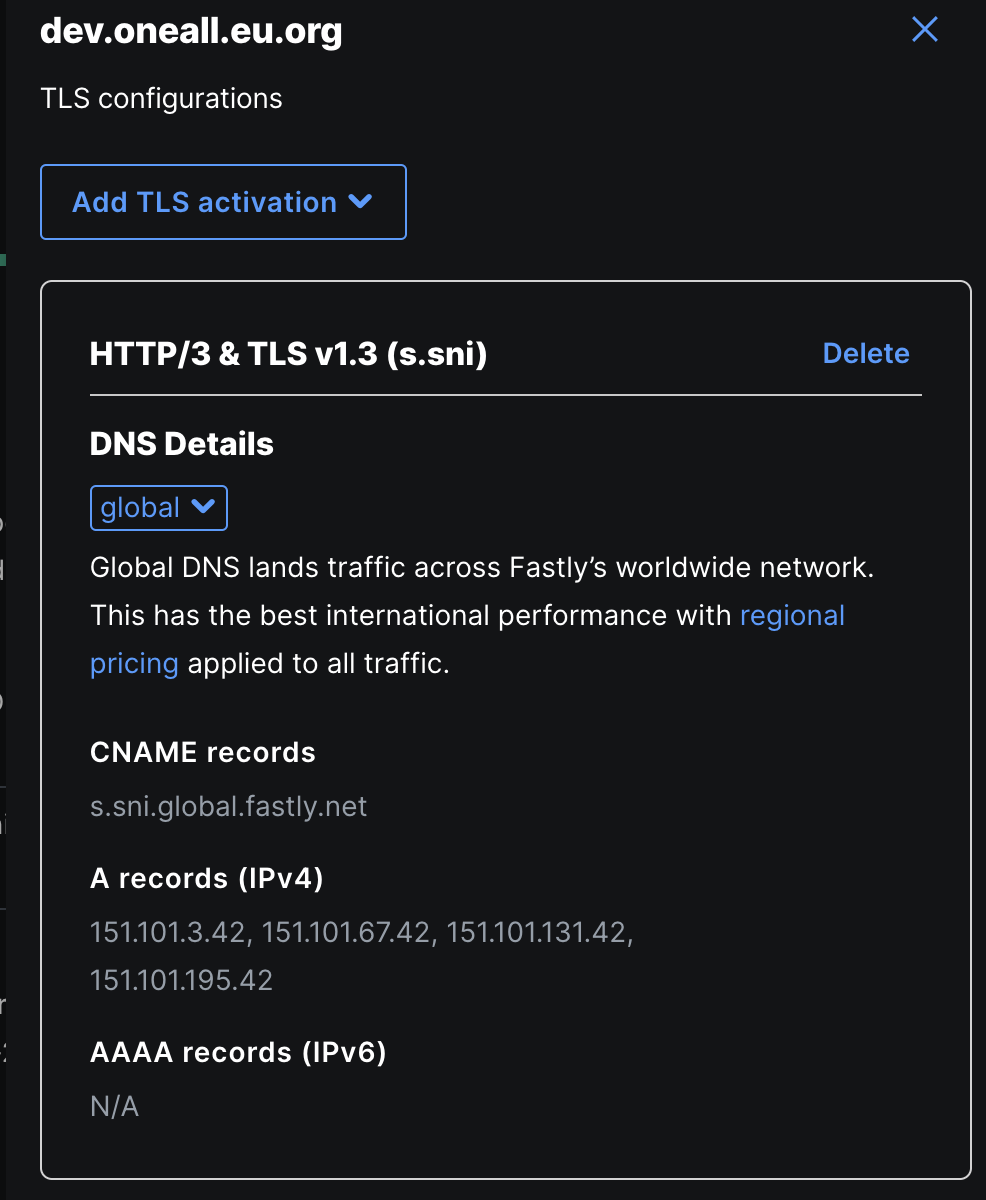
- 按需选择添加记录即可